The Ultimate Grout Mixing Guide for Perfect Tile Joints
Discover our comprehensive groutmixing guide for perfect tile joints. Learn exact water ratios, mixing times, and slaking tips for flawless installations.
Table of Contents
- Proportioning and Water Ratios
- Mechanical Agitation Parameters
- Understanding the Slaking Period in a Grout Mixing Guide
- Application and Working Time
- Your Most Common Questions
- Comparing Mixing Approaches
- Practical Tips
Key Takeaway
A groutmixing guide is a structured instructional framework detailing the precise proportions, mechanical agitation, and resting periods required to prepare cementitious compounds for tile joints. Proper execution prevents colour shading, excessive shrinkage, and structural cracking during professional wall and floor tiling projects.
Grout Mixing Guide in Context
- Mechanical mixing requires 3 to 5 minutes of agitation to achieve a lump-free consistency (Mapei Corporation, 2024)[1].
- Cement-based compounds need a 5-minute slaking period after initial mixing before final agitation (Mapei Corporation, 2024)[1].
- Drill mixers should not exceed 300 revolutions per minute to avoid entraining excess air into the mixture (Laticrete International, 2025)[2].
- Typical working time at room temperature ranges from 30 to 45 minutes after final preparation (Tile Council of North America, 2024)[3].
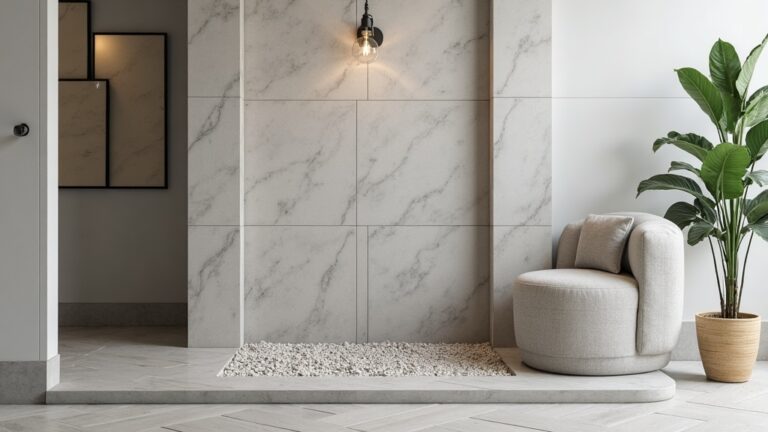
Achieving flawless tile joints requires more than just combining powder and water. A reliable grout mixing guide provides the essential roadmap for installers to achieve optimal structural integrity and aesthetic uniformity. When preparing cementitious grout, minor deviations in water volume or agitation speed can lead to severe onsite failures, including inconsistent curing and visible colour shading. This article explores the critical phases of grout preparation, from calculating the correct water-to-powder ratio to understanding the chemical necessity of the slaking period. We will examine mechanical mixing parameters, evaluate different application approaches, and provide actionable insights for both residential and commercial tilework. Whether managing a large-scale flooring project or a detailed backsplash installation, mastering these foundational techniques ensures long-lasting durability. Read on to discover how precise material handling transforms raw ingredients into a high-performance joint filler.
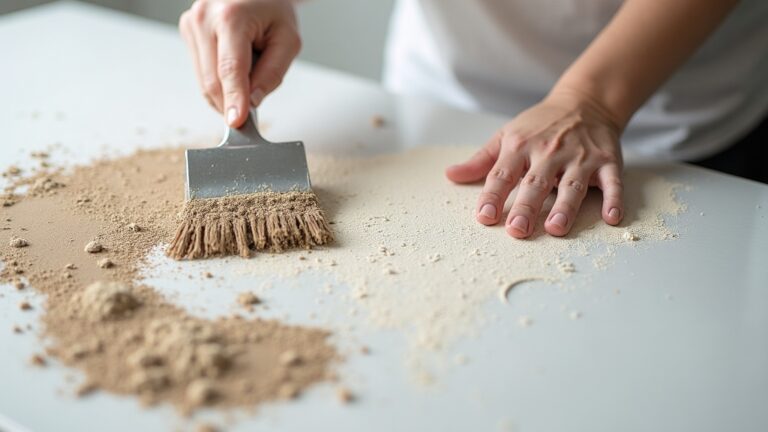
Proportioning and Water Ratios
The foundation of any successful tile installation begins with calculating the exact water-to-powder ratio before any mechanical agitation occurs. Relying on a detailed guide to mixing grout ensures that the chemical composition remains balanced, preventing weak joints and premature degradation. Industry standards are highly specific about these proportions. For instance, British Standard BS 5385 guidance indicates that cementitious compounds should typically be mixed with approximately 0.30 to 0.35 water-to-cement ratio by weight to achieve adequate strength and durability (British Standards Institution, 2024)[5].
Precision is paramount on the jobsite. Manufacturers provide strict parameters to ensure optimal performance. According to product data sheets, premium cement grout often specifies a water addition rate of approximately 0.9 to 1.1 quarts per 25‑lb bag (Laticrete International, 2025)[2]. Deviating from these measurements compromises the final cure. Mark Pennine, Technical Manager at Mapei UK, emphasizes this critical step: “Always add powder to water, never the other way around, and mix for the full time specified on the data sheet. Under‑mixing grout is one of the most common causes of colour shading and inconsistent performance on site” (Mapei UK, 2025)[4].
To maintain consistency across large projects, installers should utilize calibrated measuring buckets rather than estimating volumes visually. For further equipment recommendations, explore our comprehensive grout equipment category to find the right tools for precise proportioning. Proper measurement eliminates the guesswork and sets the stage for a flawless application.
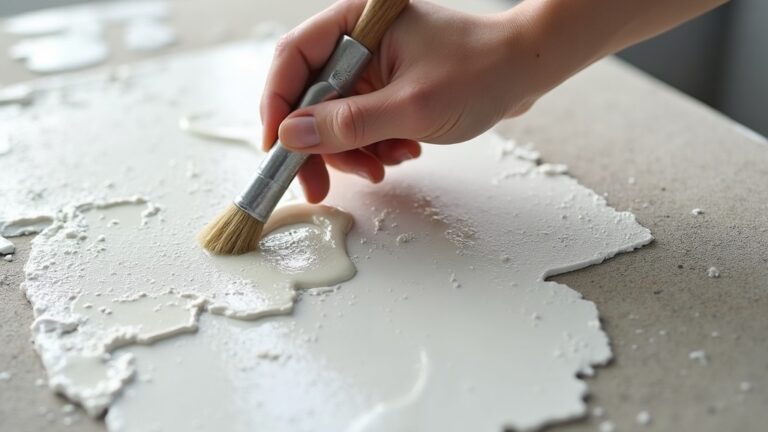
Mechanical Agitation Parameters
Once the dry ingredients and liquids are correctly proportioned, the physical blending process dictates the final workability of the cementitious grout. Following precise grout-mixing instructions is vital to achieve a smooth, lump-free consistency without introducing excess air. The speed of the mechanical mixer plays a crucial role in this outcome. Technical specifications dictate that mechanical mixing speed should not exceed 300 revolutions per minute when preparing cement-based compounds to avoid entraining air (Laticrete International, 2025)[2].
Excessive aeration weakens the structural integrity of the joint filler and creates pinholes during the curing process. A low-speed drill mixer equipped with a specialized paddle is the industry standard for this task. The duration of mixing is equally important. Technical guidance specifies a mixing time of 3 to 5 minutes for cement-based tile compounds using mechanical equipment (Mapei Corporation, 2024)[1]. This timeframe ensures that all dry pockets are fully integrated and the chemical additives are uniformly distributed.
Achieving the right texture requires balancing water content and agitation. Bill Palmer, Editor at Large for Concrete Construction Magazine, notes: “If the grout is too wet, it will shrink excessively and crack; if it is too dry, it won’t fully fill the voids. Good grout mixing is really about hitting that narrow window of workable but low‑water consistency” (Concrete Construction Magazine, 2025)[6]. Adhering to these mechanical parameters guarantees a dense, durable fill for all tilework applications.
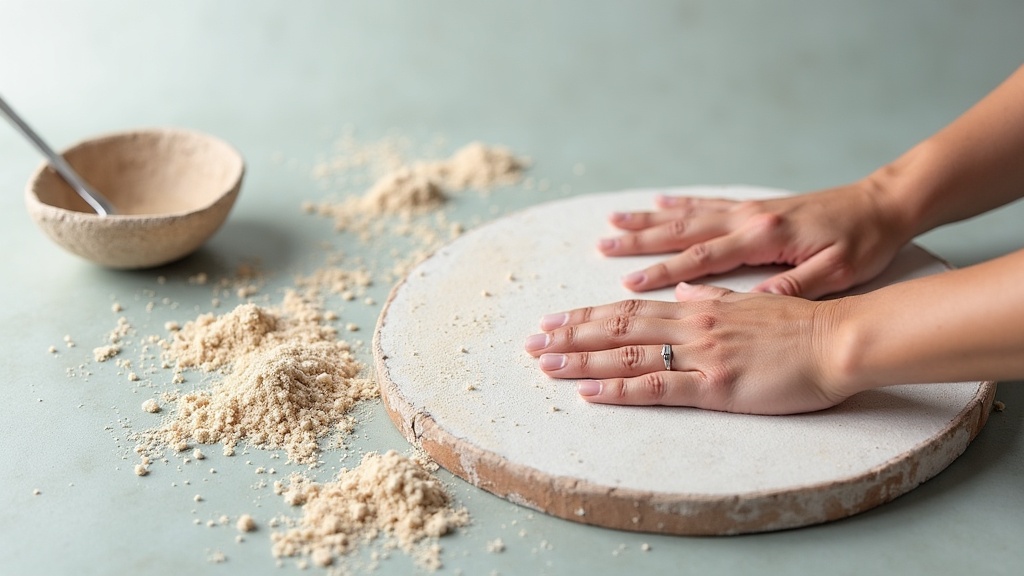
Understanding the Slaking Period in a Grout Mixing Guide
The slaking period is a mandatory resting phase that allows chemical additives to fully hydrate and activate within the mixture. Any thorough mixing grout tutorial will emphasize that skipping this step leads to substandard results. After the initial mechanical blending, the compound must sit undisturbed. Technical data indicates that cementitious mixtures should rest, or slake, for approximately 5 minutes before remixing (Mapei Corporation, 2024)[1]. Other manufacturers recommend a waiting period of 5 to 10 minutes after mixing before a brief remix and application (Custom Building Products, 2024)[9].
This resting phase is not merely a suggestion; it is a chemical necessity. During slaking, the polymers and Portland cement particles absorb water completely, which drastically improves the material’s cohesiveness and final compressive strength. Dirk Holbach, Corporate Senior Vice President at Henkel, explains the science behind this: “From a quality perspective, the two most critical steps in tile grouting are correct proportioning of water and dry mix, and allowing the grout to slake before remixing. Skipping the slaking period significantly reduces final strength” (Henkel, 2025)[7].
Following the slaking period, a brief secondary mixing phase is required to restore the material’s plasticity. This final agitation should be short, just enough to re-homogenize the mixture without whipping additional air into it. Respecting this crucial downtime is what separates professional-grade joint filling from amateur DIY attempts.
Application and Working Time
After the final remix, installers must work efficiently within the material’s designated pot life to ensure proper joint filling. A well-structured grout preparation guide helps contractors manage their workflow to avoid material waste. The typical working time for cementitious tile compounds at room temperature is about 30 to 45 minutes after mixing (Tile Council of North America, 2024)[3]. Once this window closes, the material begins to set and cannot be re-tempered with additional water.
The physical consistency of the mixture directly impacts how easily it packs into the joints. Installers must achieve a thick, creamy texture that can be forced fully into the voids without sagging or slumping. For specialized fluid cement grout applications, industry standards are even more rigorous. The ANSI A108.10 standard limits water content so that the material achieves a fluidity of 20 to 30 seconds when tested in a flow cone (American National Standards Institute, 2023)[10].
Managing the jobsite environment is also critical. High temperatures and low humidity will accelerate the curing process, reducing the available working time. Installers should review our sample project page to see how environmental controls are implemented in large-scale commercial installations. For broader industry standards, consult these expert answers on proper tile grout application to ensure compliance with local building codes.
Your Most Common Questions
Why is the slaking period necessary when preparing cementitious compounds?
The slaking period allows the dry polymers and cement particles to fully absorb water and hydrate. This chemical activation is essential for developing the material’s final compressive strength and cohesiveness. Skipping this 5 to 10-minute resting phase results in a weaker bond, increased porosity, and a higher likelihood of cracking or crumbling after the installation cures.
What happens if I mix the material at a speed higher than 300 rpm?
Mixing at high speeds introduces excess air into the mixture, creating microscopic voids and pinholes. This aeration weakens the structural integrity of the joint filler and compromises its durability. High-speed agitation also accelerates the initial set time, reducing your working window and making the compound difficult to tool and finish smoothly on the jobsite.
Can I add more water if the mixture becomes too stiff during application?
No, you should never add water to a mixture that has begun to stiffen or set in the bucket. Re-tempering breaks the chemical bonds forming during the curing process, leading to severe colour shading, powdery joints, and structural failure. If the compound exceeds its 30 to 45-minute working time, it must be discarded and a fresh batch mixed.
How do I test the fluidity of fluid cement grout on the jobsite?
Fluidity is tested using a standardized flow cone apparatus, as outlined in the ASTM C939 cone test referenced by ANSI A108.10. The material is poured into the cone, and the time it takes to empty is measured. For compliant fluid cement compounds, the flow time must fall strictly between 20 and 30 seconds to ensure proper void filling without excessive shrinkage.
Comparing Mixing Approaches
Selecting the right equipment for your grout mixing workflow depends on the scale of the project and the specific material requirements. Different methods offer distinct advantages regarding speed, consistency, and aeration control.
| Method | Best For | Key Limitation |
|---|---|---|
| Manual Hand Mixing | Small repairs and tight spaces | High physical effort; difficult to achieve lump-free consistency |
| Low-Speed Drill Mixer | Standard residential and commercial tilework | Requires careful speed monitoring to prevent air entrainment |
| Colloidal Mixer | Large-scale industrial and specialized fluid applications | Higher equipment cost and setup time |
Practical Tips
Mastering the physical application requires attention to detail beyond the initial blending phase. Implementing best practices on the jobsite ensures a professional finish and long-lasting durability for all wall and floor tiling projects.
- Control the Environment: Avoid working in direct sunlight or high winds, which accelerate moisture evaporation and reduce the working time of cementitious compounds.
- Clean Tools Immediately: Wash mixing paddles, buckets, and trowels with clean water before the material sets. Cured residue is extremely difficult to remove and can contaminate future batches.
- Use a Rubber Float: Apply the mixture using a high-quality rubber float held at a 45-degree angle to force the material deeply into the joints and eliminate voids.
- Monitor Temperature: Ensure both the ambient room temperature and the mixing water are between 50°F and 90°F to maintain predictable curing times.
Wrapping Up
Achieving flawless tile joints relies entirely on strict adherence to a proven grout mixing guide. From calculating the precise water-to-powder ratio to respecting the mandatory slaking period, every step influences the final strength and aesthetic quality of the installation. By controlling mechanical agitation speeds and managing your working time, you eliminate common jobsite failures like colour shading and shrinkage cracking. For more in-depth tutorials and equipment reviews, continue to explore the expert resources available on colloidalgroutmixer.com.
Learn More
- 19-1736 Mixing Partial Units of Grout. Mapei Corporation.
https://cdnmedia.mapei.com/docs/librariesprovider65/line-technical-documentation-documents/19-1736_mixing_partial_units_of_grout-en_lr.pdf - Spectralock 1 Data Sheet. Laticrete International.
https://cdn.laticrete.com/~/media/product-documents/data-sheets/lds0260_spectralock-1.ashx - TCNA Handbook Grout Section. Tile Council of North America.
https://www.tileusa.com/wp-content/uploads/2024/07/tcna-handbook-grout-section.pdf - Getting Grout Right: Common Jobsite Mistakes. Mapei UK.
https://www.mapei.co.uk/en-gb/home-page/news-and-events/news/detail/getting-grout-right-common-jobsite-mistakes - BS 5385-1:2018 + A1:2024 Tiling Practice. British Standards Institution.
https://shop.bsigroup.com/products/bs-5385-1-2018-a1-2024-tiling-practice - Grout: Getting the Mix and Workability Right. Concrete Construction Magazine.
https://www.concreteconstruction.net/how-to/materials/grout-getting-the-mix-and-workability-right_o - Tile Adhesives and Grouts Application Best Practice. Henkel.
https://www.henkel.com/press-and-media/press-releases-and-kits/adhesive-technologies/tile-adhesives-and-grouts-application-best-practice-1820280 - How to Properly Mix and Apply Tile Grout. Ceramic Tile and Stone Consultants.
https://ctasc.com/expert-answers/how-to-properly-mix-and-apply-tile-grout/ - TDS-129 Technical Data Sheet. Custom Building Products.
https://www.custombuildingproducts.com/TDS/TDS-129.pdf - ANSI A108.10 Excerpt. American National Standards Institute.
https://www.tileusa.com/wp-content/uploads/2024/01/ansi-a108-10-excerpt.pdf
For more about Groutmixing guide, see Groutmixing Guide.